

Micro-Project Overview

Micro-Project and Role Overview
Micro-Project Purpose
The purpose of this Micro-project is to test and improve real business processes.
These processes are documented step-by-step and are used to:
• build and manage websites
• collect customer enquiries
• send data into the CRM system
Your role
Your role is to follow the documented process to complete the task and confirm whether it:
• works as expected
• is clear and easy to follow
• produces the correct outcome
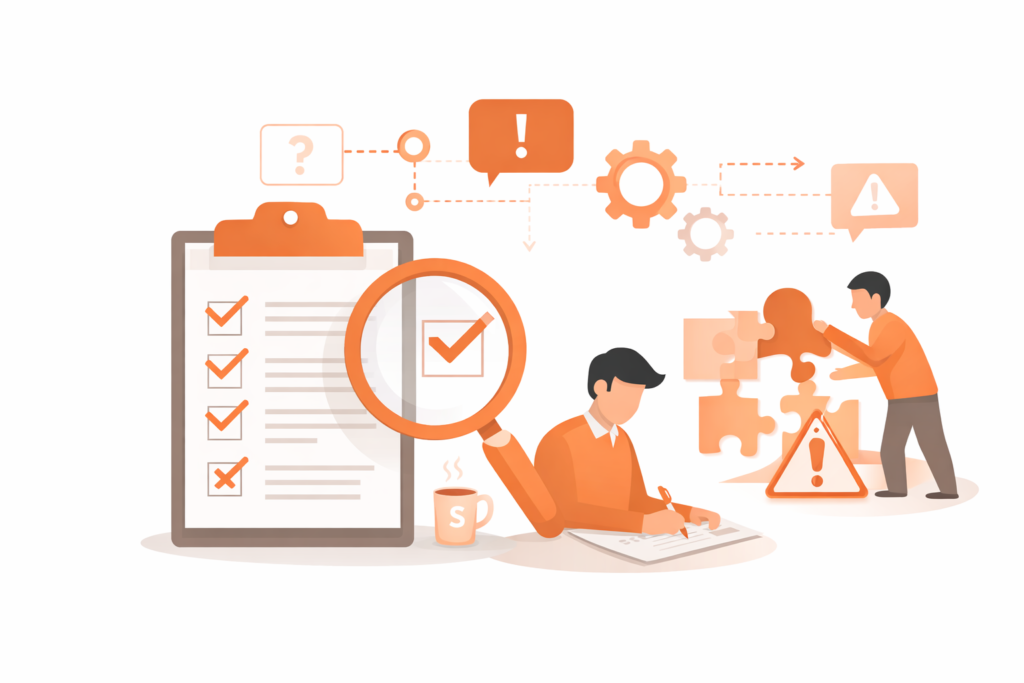
If any part of the process does not meet these conditions, it must be recorded.
Type of Work Involved
Type of Work
Most micro-projects involve working with website platforms and related tools.
Typical activities may include:
• working with website templates
• updating website pages
• inserting structured content into templates
• working with website forms
• connecting forms to Zoho CRM
• testing submissions to confirm correct data flow
All tasks are completed by following a structured process workflow document.
Following the Workflow
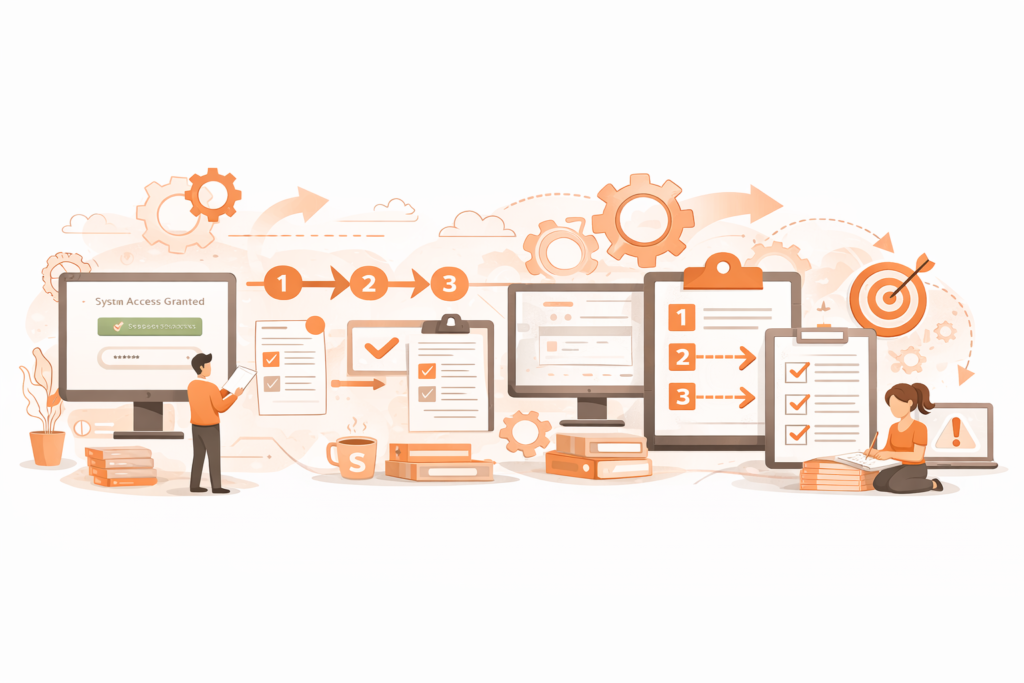
You will be given a step-by-step document that outlines exactly what needs to be done.
You are expected to:
• follow each step in order
• complete one step at a time
• avoid skipping or combining steps
• avoid making assumptions
The process must be followed as written so that it can be tested accurately.
Recording Issues During the Process
What to Record
If you encounter any issue, it must be recorded clearly using the Process Log and Issue Report.
Examples include:
• a step that does not make sense
• missing instructions
• unclear wording
• a step that does not produce the expected result
• a task that requires guessing
What must Be Included in your records
Each issue must include:
• the step number where the issue occurred
• the status of the step (e.g. Issue Resolved or Unable to Complete)
• what the problem was
• what happened when you attempted the step
• what action you took to continue
• whether your action worked (Yes, No, or Partially)
This information is required in the Issue Log section of the form and is essential for improving the process.
Handling Blocked Steps
What to do when you encounter Issues
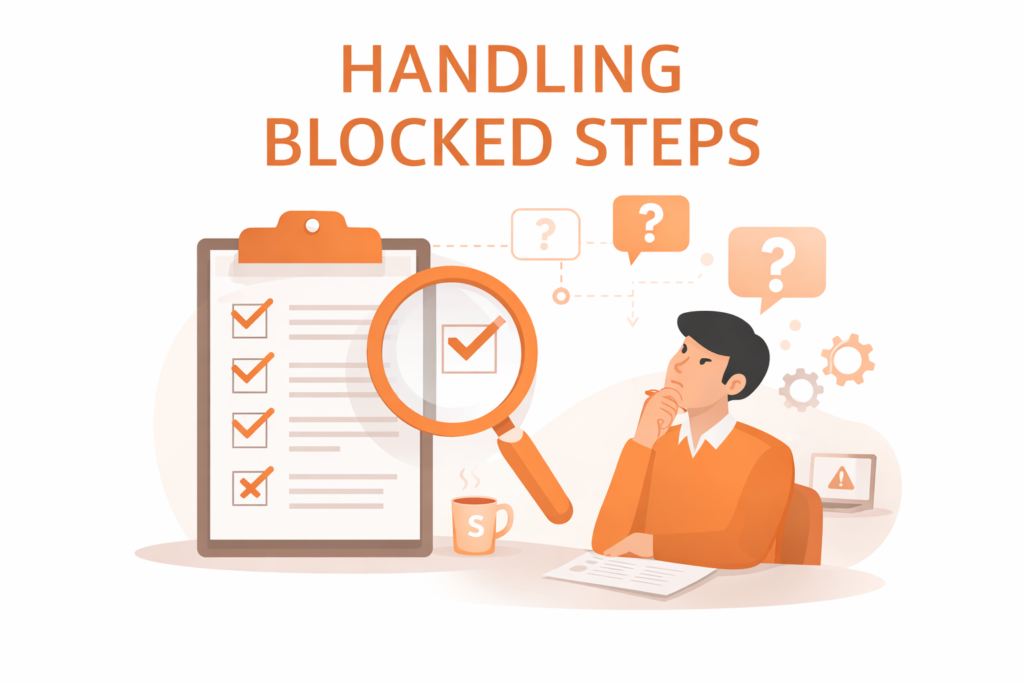
If you reach a step that cannot be completed, you must follow this process:
1. Attempt the step as written
2. Identify the issue
3. Apply what you believe is the next logical step
4. Record the step details in the Process and Issue Log
5. Continue working towards the final outcome
You may use your own judgement to move forward, but this must be done carefully and recorded using the form.
Workaround
If you apply a workaround, you must expand on your issue record by including:
• what the original step required
• why it could not be completed
• what action you took instead
• whether the action worked
• why you chose that approach
The form is designed to capture this information so that all actions taken can be reviewed and used to improve the process.

What Success Looks Like
Micro-Project Completion
A micro-project is considered complete when:
• the final task outcome has been achieved
• all steps have been followed as closely as possible
• all issues encountered have been recorded clearly
Both the outcome and the feedback are required.
Important Clarification
This micro-project is not about speed or shortcuts. It is about:
• accuracy
• clarity
• attention to detail
If something does not work, that is not a failure.
It is part of the testing process and must be recorded.
Important Clarification
This micro-project is not about speed or shortcuts.
It is about:
- accuracy
- clarity
- attention to detail
If something does not work, that is not a failure.
It is part of the testing process and must be recorded.
Preparing for the Next Step
Next Step
The next page explains how the Work Environment operates and how you will access the Office PC used to complete the micro-project.
This includes how to connect to the Office PC, the platforms used during the micro-project, and how Work Sessions are structured.
Understanding this setup is important before starting the micro-project.